Makeup Frenzy Makeup Tools: Brushes, Stamps, and Tips
Master Makeup Frenzy makeup tools with tips for blending, eyeliner, brow stamps, glitter, and themed looks. Compare game passes before spending your Robux.
Jump to
What Makeup Tools Can You Use in Makeup Frenzy?
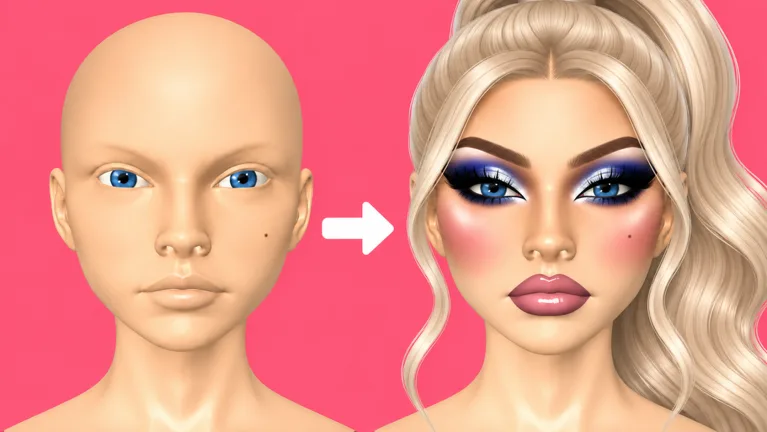
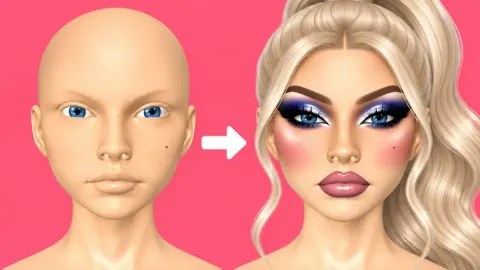
A sharp eyeliner wing can pull your look together, but spending the whole round perfecting it can leave your lips unfinished. Makeup Frenzy makeup tools cover contour, concealer, eyeshadow, eyeliner, blending, brow stamps, lip color, gloss, and decorative details. Learn how to combine Makeup Frenzy makeup tools so you can finish a look that fits the theme before voting begins.
In this Roblox experience, you create makeup looks, style your character, compete in themed rounds, and vote for your favorites. Your makeup needs to work as a complete design: eyes, brows, lips, and styling all contribute to the result.
Start by learning what each tool changes. Painting, blending, and placing a preset are different jobs, so switching between them deliberately helps you keep your design organized.
| Tool or option | What it does | Example use |
|---|---|---|
| Contour | Adds darker shading to the face | Define cheekbones and the sides of the nose |
| Concealer | Adds lighter color to selected areas | Brighten beneath the eyes, the forehead, and chin |
| Beauty blender | Blends applied makeup | Soften contour, eyeshadow, and lip edges |
| Eyeshadow | Adds color around the eyelids | Combine black shadow with gray inner corners |
| Eyeliner | Draws definition around the eyes | Create a wing and connect it to the eye |
| Brow stamp | Applies a preset eyebrow shape | Place black brows and adjust their size |
| Lip color and gloss | Adds lip color and a glossy finish | Combine gray lips, black outlining, and white gloss |
| Shape stamp | Adds a decorative shape | Place a white star beside an eye |
| Glitter | Adds sparkling detail | Accent the inner corners with white glitter |
Lashes and eye customization add further detail, while hair sits within character styling. Keep those finishing choices connected to your makeup palette instead of treating them as a separate design.
For your opening rounds, work with a small selection of tools. Finish the face shading, eyes, brows, and lips before adding decorative accents. That gives you a complete look to refine when time remains.
Get Comfortable With Brush Size, Strength, and Blending
Adjust brush size when switching from broad contour strokes to a clean lip outline. Makeup Frenzy makeup tools include size and strength adjustments, and the beauty blender also has adjustable size and strength.
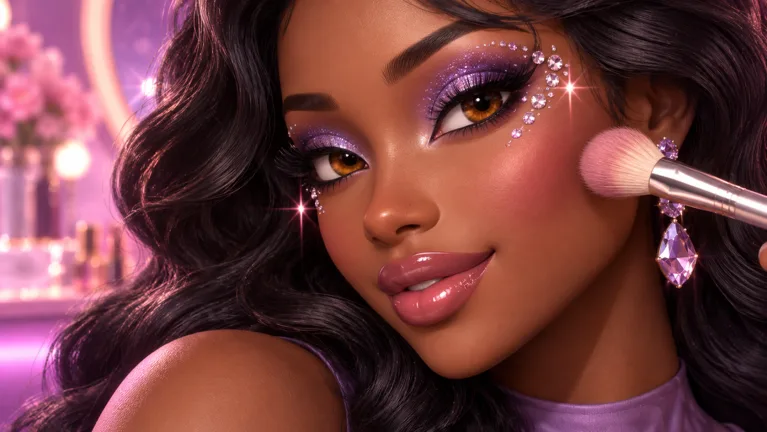 Image: Roblox / ciao kombucha fanclub
Change those settings as you move between facial areas. A brush that covers the cheek comfortably needs a smaller footprint around the nose or lips.
| Control | Use in the makeup process | Adjustment to try |
|---|---|---|
| Brush size | Changes the area covered by a stroke | Reduce it for eyeliner and nose details |
| Strength | Adjusts the strength of the tool’s effect | Lower it when softening a lip outline |
| Blender size | Changes the area you blend | Use a smaller size around the lips |
| Zoom | Brings facial details closer | Zoom in for nose contour and eyeliner |
| Undo | Reverses an unwanted application | Undo a lip color that does not match your palette |
Separate application from blending
When using Makeup Frenzy makeup tools, apply contour where you want the shading, then switch to the beauty blender. Follow the same sequence with concealer: place the lighter areas first, then soften their edges.
Check each area after blending. Keep enough contrast to preserve the cheek and nose definition you intended. For a monochrome look, let the transition between black shading and white highlights create the dimension.
Use the blender around the eyes and lips, too. Reduce its size before working near a lip outline so you can focus on the boundary between the darker edge and lighter center.
Zoom in, then check the whole face
Zoom in to draw the eyeliner wing and connect it to the eye. Once the line is in place, zoom back out and inspect how it fits the eyeshadow and brows.
Repeat that check after nose contour. Small details can absorb your attention, so return to the full face regularly and decide which unfinished feature needs work next.
If a selected lip color gives you a result you dislike, use undo before trying another shade. Keep the correction focused on that application, then continue building the look.
Build a Black, White, and Gray Look
A monochrome round gives you a clear way to practice Makeup Frenzy makeup tools. The palette limits your color choices while still leaving room for smoky eyes, dramatic lips, sculpted cheeks, and glitter.
For a theme that calls for black, white, and gray, keep every makeup choice within that range. Use placement and contrast to create variety.
| Part of the look | Monochrome choice | Application detail |
|---|---|---|
| Base | White | Cover the face, back of the head, and beneath the chin |
| Contour | Black | Shade the cheeks and nose, then blend |
| Concealer | White | Apply beneath the eyes, on the forehead, and on the chin |
| Eyes | Black and gray | Use black shadow with gray inner corners |
| Brows | Black | Apply a brow stamp and adjust its size |
| Lips | Gray, black, and white | Use gray color, black outlining, and white gloss |
| Decorative accents | White | Add a star near an eye and glitter at the inner corners |
Follow this sequence to keep the design moving:
- Set the base color. For this white-base look, cover the face and check the back of the head and underside of the chin.
- Add cheek contour. Apply black shading around the cheeks and cheekbones, then blend the edges.
- Shape the nose. Zoom in, apply black contour, and blend before returning to the full face.
- Place concealer. Add white beneath the eyes, on the forehead, and on the chin. Blend those areas.
- Create smoky eyes. Apply black eyeshadow, add gray toward the inner corners, and soften the transition.
- Draw the eyeliner. Reduce the brush size, draw the wing, and connect it to the eye.
- Stamp the brows. Choose black brows and adjust their size to fit the face.
- Finish the lips. Apply gray color, outline with black, blend the boundary, and add white gloss.
Complete those features before decorating. Then add lashes, set the eye color to gray, and place a white star beside an eye if you want that accent.
For extra sparkle, select the glowy eyeshadow option and add white glitter to the inner corners. Keep the accent focused so the contrast between the dark shadow and lighter corner remains easy to see.
Use this as a practice sequence rather than a requirement for every round. When a different theme appears, choose its palette before applying contour or eyeshadow, then carry those colors through the rest of the face.
Finish Your Look Before the Round Ends
A themed competition gives you several jobs at once: makeup, character styling, and a finished presentation. Keep your attention on the whole character while using Makeup Frenzy makeup tools.
Choose the overall direction early. For a monochrome gothic look, coordinate dark eyes, defined brows, and gray lips. For another theme, make the same decisions around the colors and mood it requests.
Use presets to keep the round moving
The brow stamp provides a preset eyebrow shape with size adjustment. Use it when you want to place brows without drawing each detail individually.
Select lashes after shaping the eyes. Check how they sit with the eyeliner and shadow before moving on to decorative stamps.
Keep the order practical:
- Finish contour and concealer before working on small accents.
- Complete both eyes and the lip color before adding glitter.
- Place decorative shapes after the main makeup is finished.
- Leave time to select and position the hair.
- Inspect the full character before the round ends.
This sequence keeps the finishing details attached to a completed design. If time gets tight, leave an extra decoration out and finish an incomplete feature.
Check hair placement with the makeup visible
Hair can be selected through Style, then Hair, and its position can be adjusted. Move it forward or downward as needed while checking the face.
Watch the brows, eyeliner, and star placement as you adjust it. Keep the details you want voters to notice visible in the overall look.
Recheck the character during presentation, too. Hair can clip through the head, so keep its fit in mind when choosing and positioning a style.
Let the theme guide your final check
Before voting, inspect the colors across the full design. For black, white, and gray, check the eye color, lips, decorative stamp, and glitter alongside the base makeup.
Then look for unfinished areas: a disconnected eyeliner wing, an unblended lip edge, or a missing brow. Correct the feature that contributes most to the design before spending the remaining time on another accent.
Voting is part of each themed round, and rewards are part of the game’s competition loop. Build around the prompt, finish the main features, and give other players a look they can read clearly.
Makeup Tool Passes and Other Paid Options
Some Makeup Frenzy makeup tools and customization features are tied to game passes. As of October 13, 2026, the experience offers these purchases:
| Game pass | Price | Included features |
|---|---|---|
| VIP | 349 Robux | VIP makeup tools, voting backgrounds, and three daily theme choices |
| Shape Stencils | 119 Robux | Permanent access to shape stencils |
| Second Hair Slot | 79 Robux | A permanent second hair slot |
| My Lookbook - Unlimited Slots | 139 Robux | Unlimited saved-look slots |
Match any purchase to the feature you actually want. Choose Shape Stencils for access to shape stencils, or Second Hair Slot for an additional hair slot. Choose My Lookbook - Unlimited Slots when unlimited saved-look storage is your priority.
VIP combines makeup tools with voting backgrounds and daily theme choices. Separate those benefits in your decision: consider whether you want the tool access, presentation options, theme choices, or the full bundle.
The shape stamp used for a star decoration and the pass named Shape Stencils both concern decorative shapes. Check the option you want inside the game before purchasing the pass.
Practice size adjustments, blending, and a complete themed look before spending Robux. Identify the feature you want to add to your routine, then compare its pass price.
You can play Makeup Frenzy on Roblox to work on your next design. Give yourself one clear goal for the round: cleaner contour, connected eyeliner, or a finished lip combination.
FAQ
What are the main Makeup Frenzy makeup tools?
The tools include contour, concealer, eyeshadow, eyeliner, a beauty blender, brow stamps, lip color, gloss, shape stamps, and glitter. Lashes, eye customization, and hair styling also contribute to the finished character.
How do you blend makeup in Makeup Frenzy?
Select the beauty blender and work over the makeup you want to soften. Adjust its size and strength for the area, using a smaller size around lip details. Blend contour, concealer, eyeshadow, and lip edges as you build the look.
How much do VIP and Shape Stencils cost?
As of October 13, 2026, VIP costs 349 Robux and Shape Stencils costs 119 Robux. VIP includes VIP makeup tools, voting backgrounds, and three daily theme choices. Shape Stencils permanently unlocks shape stencils.
How do you finish a themed look without running out of time?
Complete the base, contour, eyes, brows, and lips before adding decorative details. Use a brow stamp for preset eyebrows, then finish lashes and hair placement. Check the full face regularly so one detailed eyeliner wing does not consume the round.
Continue with
 Makeup Frenzy Saved Looks: My Lookbook and Slot GuideExplore Makeup Frenzy saved looks, the 139 Robux My Lookbook pass, and makeup tools. Plan themed designs and compare upgrades before spending your Robux.
More in Items
Makeup Frenzy Hair Slot Guide: Price and Styling Tips
Learn how the Makeup Frenzy hair slot works, what the 79 Robux Second Hair Slot pass unlocks, and how to select and position hair for themed Roblox rounds.
Makeup Frenzy Shape Stencils: Price and Styling Guide
Makeup Frenzy shape stencils cost 119 Robux and unlock permanently. Learn how to use star stamps, match round themes, and finish a coordinated makeup look.
Makeup Frenzy VIP: Price, Perks, and Buying Advice
Makeup Frenzy VIP costs 349 Robux and adds makeup tools, voting backgrounds, and daily theme choices. Compare its perks and other passes before you buy.
Join the community
Official channels for news, updates and player help: